The Chemist is one of the most powerful jobs in the entire game, having some knowledge of just a few of the many mixes will carry you a long way even with some of the worst job compositions. This short guide only intends to cover the most vital mixes, though I’ll attempt to cover as many as I can.
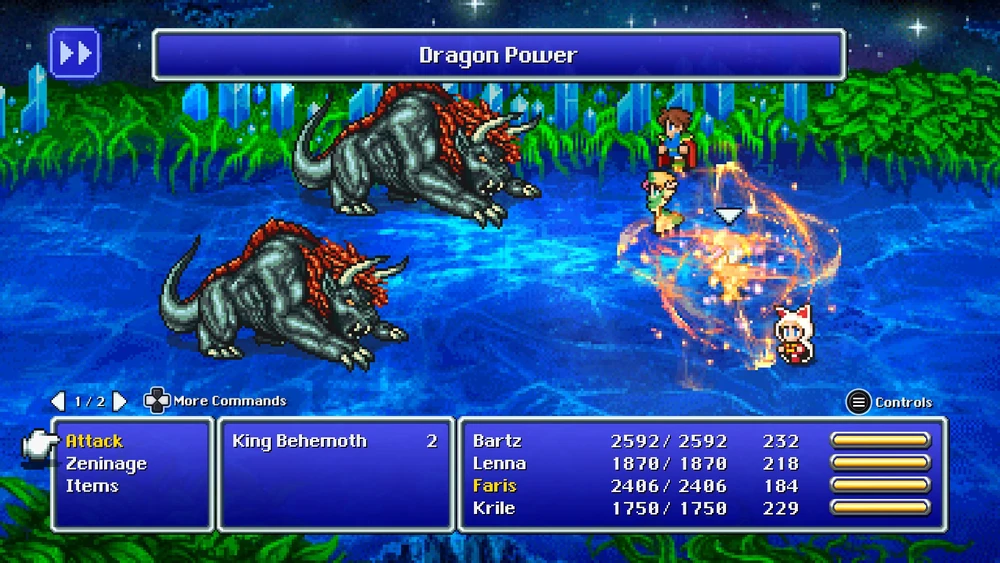
Mix #1: Dragon Power
Image Source: Final Fantasy Wiki
Dragon Power is bar none the best mix in the game, the added bonus of it is that it’s stackable meaning it can be used more than once. The combination boosts the level of the selected party member by 20, which increases your damage output tenfold. 3-4 of these will easily have you breaking the damage cap, trivialising every boss fight you might have.
This mix requires a Potion and a Dragon Fang, the former easily purchasable in about any shop through all three of the game’s worlds and the latter can be farmed from Mini Dragons (World 1), Drakenvale’s Zombie Dragons (World 2) and the Interdimensional Rift (World 3/Merged World). Zombie Dragons are the best way to grind for them, being undead allows you to easily make use of jobs like the Bard with the Requiem’s Song to make short work of them, or the Apollo’s Harp if you’re in World 3.
The much more cheaper and available alternative is Samson’s Might, requiring only a Holy Water (Revivify in some translations) and an Antidote. It effectively functions the same as Dragon Power but only gives 10 levels instead of 20, though it still serves as a reliable and cheap alternative.
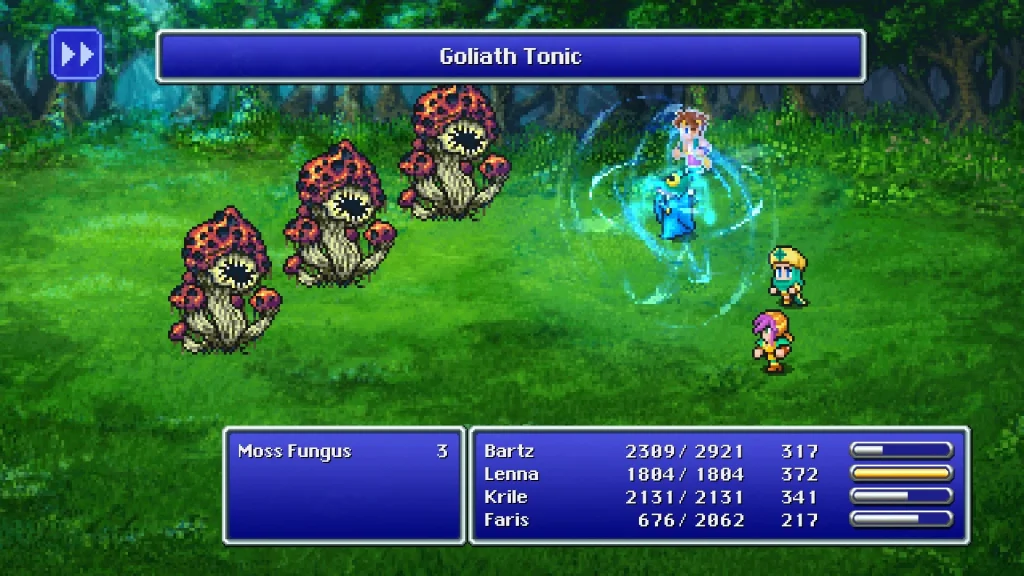
Mix #2: Giant’s Drink (Goliath Tonic)
Image Source: Final Fantasy Wiki
Another mix that utilises Dragon Fangs is the Giant’s Drink, which is the combination of a Dragon Fang and Elixir. This combination doubles the HP of the selected party member, and serves as another very vital mix to keep in the back of your mind especially for parties with low health pools who are going against bosses that can wipe them out easily, such as Neo Exdeath’s Almagest. Elixirs can be farmed from Crystal Dragons in the very end of the Interdimensional Rift just before you face Exdeath, refer back to the previous entry for tips on grinding Dragon Fangs.
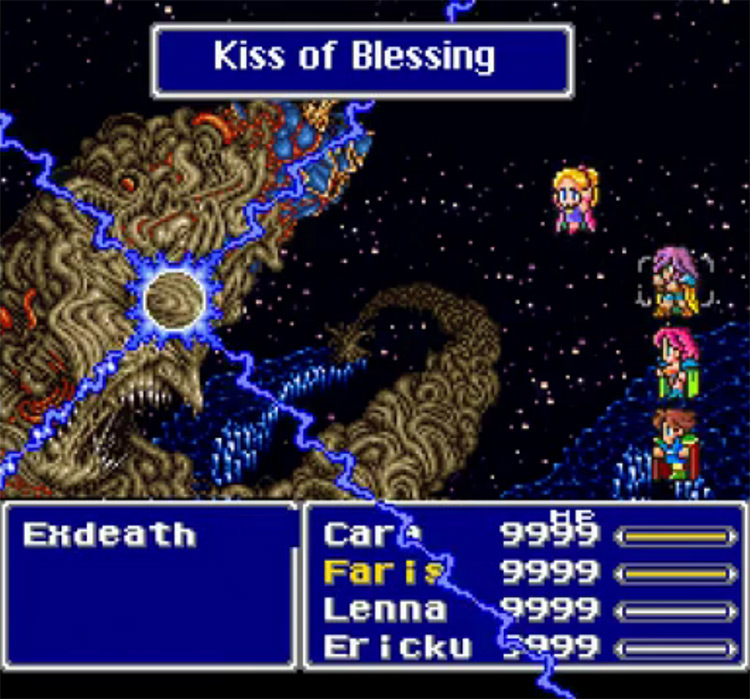
While best known as being a SFC/SNES exclusive bug allowing players to skip Exdeath’s second phase, it also boasts itself on being one of the best mixes for parties with a strong physical attacker. By combing a Maiden’s Kiss and a Holy Water, your selected party member will be berserked, given haste, AND given image. This easily makes your best fighters near unkillable, with only the setback of them being stuck in a berserker state. Though it seems situational, this mix should never be slept on when you want easy and fast damage during a tough boss encounter.
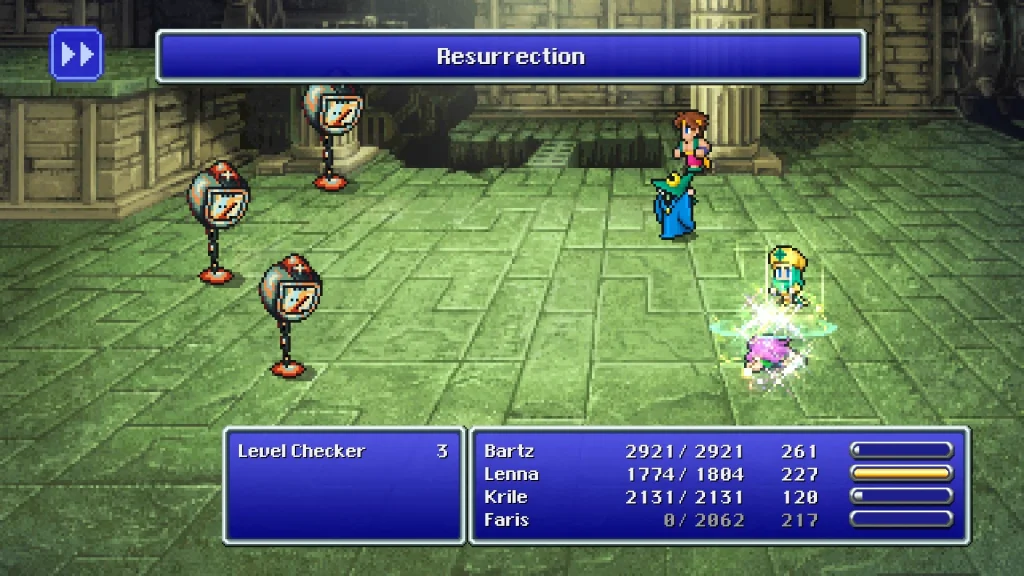
Mix #4: Resurrection
Image Source: Final Fantasy Wiki
Here’s a mix that requires no grinding on specific enemies or anything of the sort, the Resurrection mix. By combining a Potion and a Phoenix Down, you can give your KO’d party member a complete restore at a cheap cost! No need to manually revive them with a regular Phoenix Down and then heal them, now you can do it in one fell swoop.
Mix #5: Life Shield
Image Source: Final Fantasy Wiki
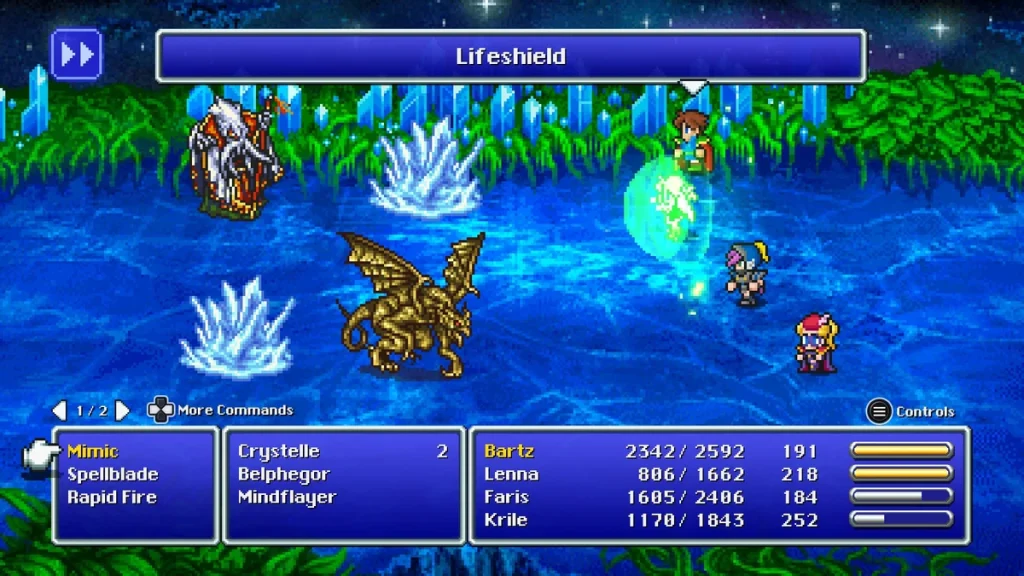
Have you ever been instantly killed and thought it was completely unfair? Well the chemist once again proves its effectiveness as it has a mix to deal with that as well! By mixing a Phoenix Down and a Holy Water, you’re now immune to any form of Instant Death attack, on the side you also gain an immunity to Gravity attacks!
“But”, you may be asking, “how many more mixes are there really?” and to that I say far too many for me to cover in this short blogpost. However, if you’d like to know more with an added visual guide and commentary, the Final Fantasy V Youtuber Suprapika has an excellent video covering many of them, including all the best ways to farm the necessary ingredients. His video can be found below.
These are explanations for how the runs are determined and is required for all attempts.
Regular: Job 1 comes from Wind, Job 2 comes from Water, Job 3 comes from Fire, Job 4 comes from Earth
Typhoon: Job 1 comes from Wind, Job 2 comes from Wind/Water, Job 3 comes from Wind/Water/Fire, Job 4 comes from any
Geyser: Job 1 comes from Wind/Water, Job 2 comes from Wind/Water/Earth, Job 3 comes from Water/Fire/Earth, Job 4 comes from Water/Earth
Sirocco: Job 1 comes from Wind/Fire, Job 2 comes from Wind/Water/Fire, Job 3 comes from Wind/Fire/Earth, Job 4 comes from Fire/Earth
Onsen: Job 1 comes from Wind/Water, Job 2 comes from Water/Fire, Job 3 comes from Water/Fire/Earth, Job 4 comes from Water/Fire/Earth
Haboob: Job 1 comes from Wind/Earth, Job 2 comes from Wind/Water/Earth, Job 3 comes from Wind/Fire/Earth, Job 4 comes from Fire/Earth
Volcano: Job 1 comes from any, Job 2 comes from Water/Fire/Earth, Job 3 comes from Fire/Earth, Job 4 comes from Earth
Meteor: All Jobs come from any Crystal Classic: Only Jobs include Knight, Thief, Monk, Red Mage, White Mage, or Black Mage
Onion: Job 1 is Black Mage, Knight, or Thief; Job 2 is Monk, Red Mage, or White Mage; Job 3 is Bard, Geomancer, or Summoner; Job 4 is Dragoon, Ninja, or Ranger
Crystal: Jobs are relevant to the Crystal they are attached to, either by stat or some interpretation of the Job. Job 1 (Wind/Strength) is Knight, Beastmaster, Ranger, Bard, or Dragoon; Job 2 (Water/Magic) is Black Mage, White Mage, Blue Mage, Red Mage, or Summoner; Job 3 (Fire/Speed) is Thief, Time Mage, Mime, Ninja, Dancer, or Samurai; Job 4 (Earth/Stamina) is Monk, Berserker, Mystic Knight, Geomancer, or Chemist
Rod Breaking
These determine whether or not Jobs are limited based on their ability to break rods.
Team 750: Can break rods (White Mage, Black Mage, BLue Mage, Time Mage, Summoner, Red Mage, Geomancer, Bard, Chemist, Dancer
Team No 750: Cannot break rods (Thief, Monk, Knight, Mystic Knight, Berserker, Ninja, Beastmaster, Ranger, Samurai, Dragoon)
Team 375: Will have 2 Jobs from Team 750 and 2 Jobs from Team No 750
Options
These are explanations for the different modifiers.
Exclude Berserker: Berserker is included by default with the Water Crystal, and this option will remove it (incompatible with the Berserker Risk slider)
Allow Freelancer: Freelancer is excluded by default, and this option will allow its inclusion with any Crystal
Exclude Mime: Mime is included by default, and this option will exclude it from the Water Crystal
Include Advance Jobs: For the Game Boy Advance version, these Jobs (Gladiator, Cannoneer, Oracle, and Necromancer) are excluded by default, and this option will include them with any Crystal. Be careful of Necromancer’s end-game status. May cause issues with Upgrade Jobs Option
Fifth Job: When Krile replaces Galuf, will provide her or the party (depending on other Options) with an additional Job(s)
Natural Jobs Only: This will modify the output such that instead of Wind Crystal Job, it will display Bartz’s Job, and so on for the other characters, and these Jobs should be used exclusively by those characters
Allow Duplicates: This randomizer forces the initial results to have exclusive Jobs, but this will allow for any same Job to be repeated
Upgrade Jobs: Provides 3 (or 4, if Fifth Job is selected) points in the game where the player must move from Job 1 to Job 2, then to Job 3, and so on
Forbidden Job: Provides either 1 Job or 4 Jobs (if Unique Rolls Per Character is selected) that must be removed upon entering the Void. If Natural Jobs Only is chosen, will instead provide a character that must become Freelancer upon entering the Void
Allow Neo-Exdeath Rules: Requires that the final battle must be done with all characters entering as the first Job and containing any ability from the second Job listed, per character
Auto-Assign All Jobs: This option demands that the player must be only the Jobs provided and follows the same output as Natural Jobs Only’s output
Unique Rolls Per Character: Instead of 4 Jobs total, this option assigns 4 Jobs per character, and the output is modified accordingly, showing which character receives which Jobs
Berserker Risk: influences the multiplier of Berserker being added to the randomization, from 0x (default) to 12x (maximum) in integer increments. Incompatible with Exclude Berserker
Note: Allow Neo-Exdeath Restrictions, Auto-Assign All Jobs, and Unique Rolls Per Character are incompatible with each other, either because of logic contradictions or redundancy.